![]() Adding Charges With the Charge
Entry Screen
Adding Charges With the Charge
Entry Screen
1. From the Patient Information screen, click on the Charges tab.
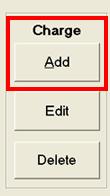
2. From the charges tab, click the Add button to the left hand side of the screen. (or you may click the
Quick Link located outside of the Patient Information screen).
3. The charge entry screen will appear. (click here for an explanation of the charge entry screen and its different components).
4. If accessing the charge entry screen from the patient information file, the desired patient should already be selected. If you do not see the name of the patient for who you wish to post the charge, use the navigation buttons at the top of the screen to browse through your patient list until you locate name you need. You can also call up a patient's name by typing in their last name into the window below the navigation bar.
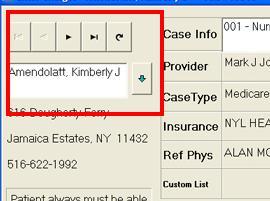
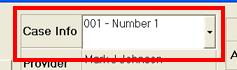
5. Take note of the Case Info window at the top of the charge entry screen and check to ensure that you are posting charges from the right case.
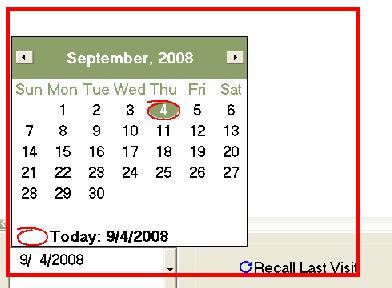
6. Select the date for which you are recording the charge from the date box in the bottom left of the charge entry screen. Remember, the date you record the charge on is not necessarily the same as the "date of service." You can configure the charge entry preferences in a way that will allow you to specify a date of service that is different from the date on which you enter the charge.
7. After you have selected the date, you are ready to begin entering the charge. Until you are comfortable, it is recommended that you start from the left hand side of the screen and work your way towards the right. Begin by selecting the provider who is rendering the service. If you do not see the provider column, it is because you have your charge entry preferences set to assign the patient's primary provider specified in the Patient Information screen.
8. Select the appropriate dates of service with the From and To fields. If you do not see these fields, it is because you have your charge entry preferences configured to use the visit date for the date of service. You can toggle this feature on and off, depending what you is most efficient for your data entry.
9. Select the code for the place of service code you want to be linked to the line item. These codes indicate to the insurance carrier the location at which the service was rendered. If you do not see the place of service code you are looking for, click the Add button and either enter the code manually, or select it from the master list by clicking the Master button.
10. Type in the procedure code or click the drop down in the CPT/HCPCS field to select a service code from your service codes list. If you cannot find the code you're looking for, click the Add button to add the code into your service codes list. If you need to input a EMG (emergency) code, do so now.
11. After you enter the procedure code, select any modifiers that might need to be linked to the service (not always required). If you do not see the modifier code that you need, click the Add button.
12. Link the patient's diagnoses to the charge. If you see an asterisk (*) symbol in the diagnosis field, it means that a diagnosis has automatically been selected from the most current diagnosis you have added into the DIAGNOSIS tab under the PATIENT INFORMATION file. If you wish to turn this setting off so that you may manually enter the diagnosis each time you post a charge, you may do so in the charge entry preferences. If you do not see the asterisk (*)symbol in the diagnosis field, you need to specify at least one diagnosis. When you click into the column, the diagnosis field should expand in order to make space for up to (4) four selected diagnoses.
13. After you enter a procedure code, the patient charge and insurance charge fields will display two separate dollar amounts. These amounts are populated according to the charge you specified in your service codes list as well as the percentages you set up in the patient's COVERAGE screen under the Case Information. Although these fields are generally populated automatically, you can always click into both the patient and insurance charge fields and change the amounts to whatever you would like.
14. Enter the day's or units value that will be linked to the code. It is recommended that you specify what this measure is (units, minutes, international unit) in the charge entry preferences.
15. If you need to add an Early and Periodic Screening, Diagnostic, and Treatment code, you can do so in the EPSDT family plan field.
16. If you have any supplemental information codes to link to the service, do so inside the supplemental information tab.

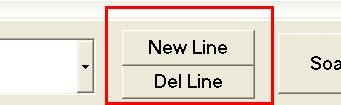
17. If you want to add another charge for this visit date, click into the line below the charge you have entered, OR click the New Line button on the bottom of the charges screen and then repeat steps 7-16. If you create a new line in error and need to delete it, place your cursor into one of the empty fields on the new line, and then click the Delete Line button that appears below the New Line icon.
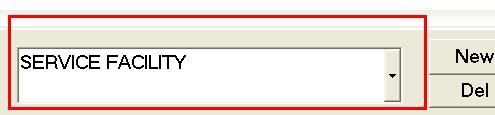
18. Select a service facility to be linked to the service charge. The service facility address and primary/secondary provider numbers will populate to BOX 32 on your HCFA insurance claims and is often required by the insurance carrier. Click here to view information regarding the service facility list.
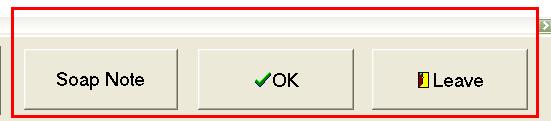
19. Click the green "OK" button on the bottom right hand corner of the screen. The charge will post and you will see affected patient/insurance/total balances. If you wish to post another visit at this time you may do so without leaving the screen. To leave the screen, click the Leave icon next to OK. If you wish to add a S.O.A.P note from the charges screen, click the S.O.A.P. button. (for help on S.O.A.P. notes, click here).
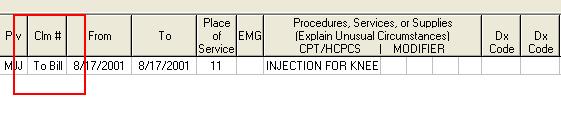
20. After you have added the charge, review the Charges Tab to make sure the charge posted correctly. IMPORTANT: Take special note of the Claim Number column seen below. If you plan on billing these charges on insurance claims, the label here must indicate a "To Bill" status. For more information regarding this topic, review the Case Type section of this help menu.
Note: When recording charges for the next visit, clicking the "Recall Last Visit" button near the bottom of the "Enter Charges" window will input all the values that were entered in the grid for the previous visit. This is useful if a patient receives the same set of treatments for every visit.